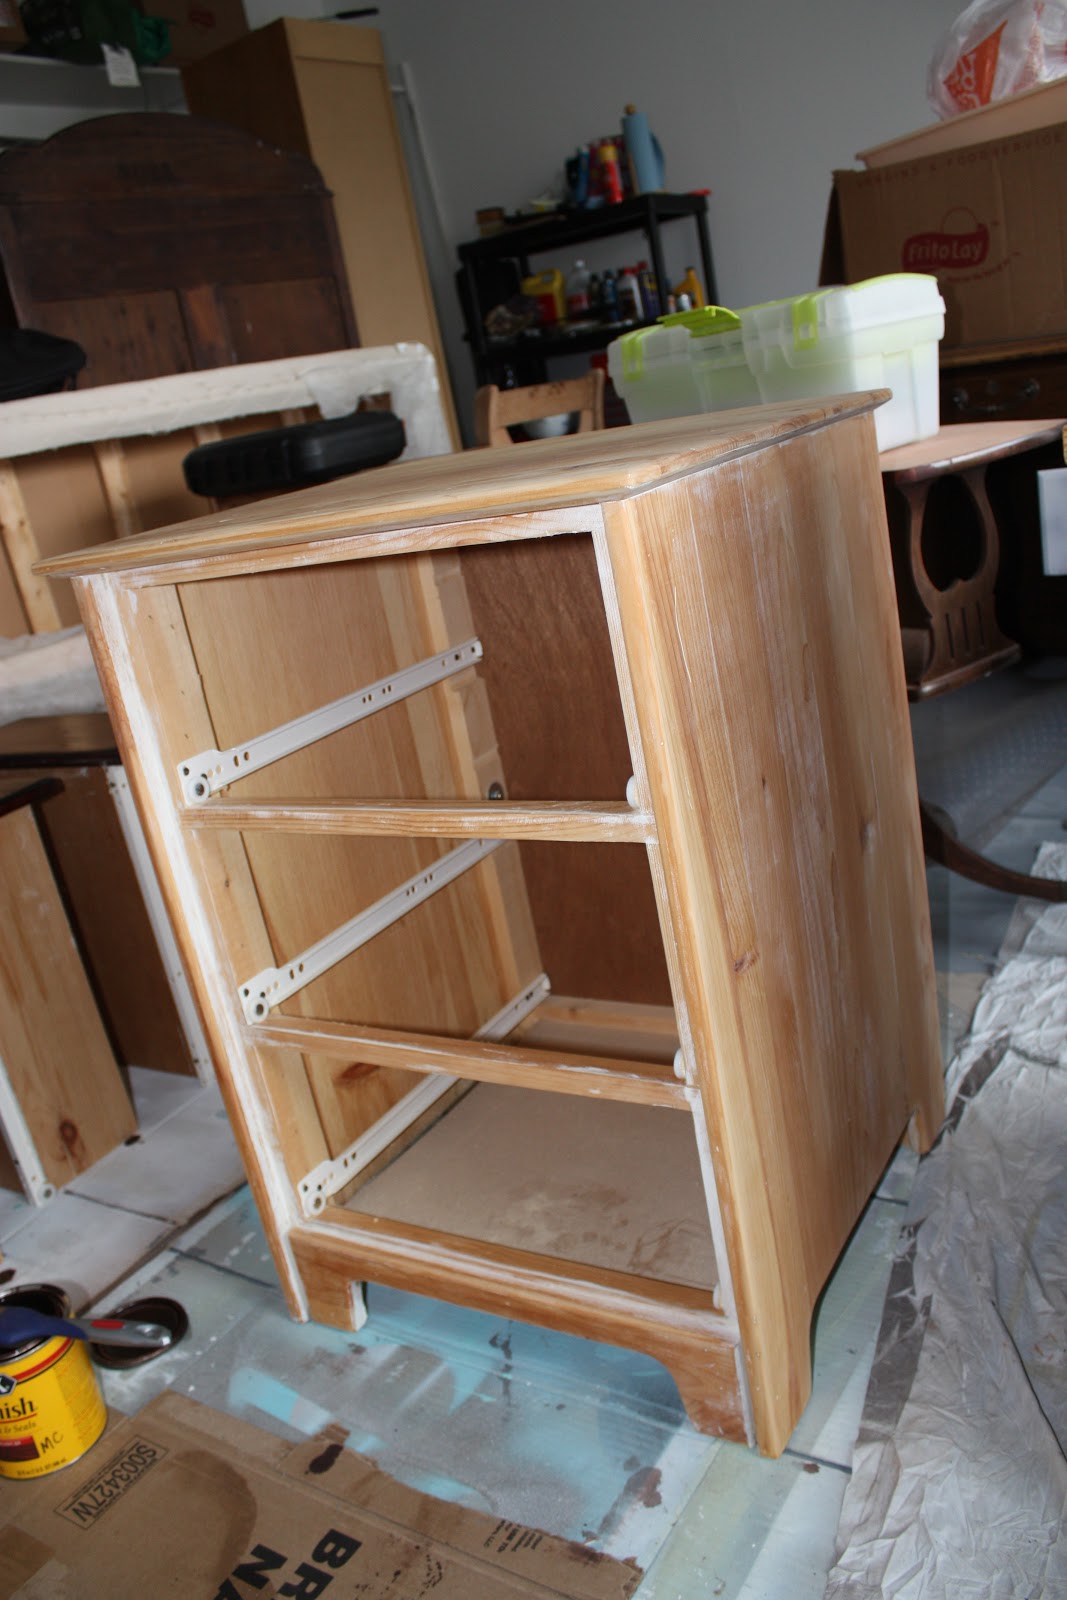
I found this old dresser on Craigslist and the seller just so happened to live down the road from our church. We stopped by after church and picked it right up! We had been searching for a dresser that we could turn into a changing table. We researched the different size changing pads to make sure it would fit and still have room for a lamp and a little basket of other changing essentials. The goal was to keep the entire project under $50.

Sold for $20!!!
The original plan was to paint the dresser a fun turquoise blue color but as Hubs and I were sanding we discovered that this piece was completely solid wood. It's kind of rare that the top would be wood (how much wood would a woodchuck chuck...) because usually when you find lower price pieces the top is MDF or press board. So we sat there for a minute (or ten) and decided it would be more economical to stain it a similar color to the crib.

I applied a wood conditioner with a brush and let it dry for about 30 minutes or so. Then I applied a Polyshade by Minwax with my new Purdy brush. (Like all that name dropping?)

The key is to use long strokes so you don't have lines. I love using Polyshades because then you don't have to go back at the very end and do a coat of polyurethane. I ended up doing 3 coats total to get it to the color I wanted.


The key is to use long strokes so you don't have lines. I love using Polyshades because then you don't have to go back at the very end and do a coat of polyurethane. I ended up doing 3 coats total to get it to the color I wanted.

(like all the junk? Just keepin' it real)
Then began the hardware saga. My original plan was to go with something like this:
It was 2 1/2 inches long. Bought 8 of them, hubs went to put them on, they don't fit. Then I bought ones like this in 3 inch:
Then I went to put those on and guess what, yup, you're right, they didn't fit either! BLAST!
I remeasured the holes from the previous handles and found out that the space between them was 2 3/4 inches. I didn't remember seeing that option in the store so to Google I went. Come to find out a lot of furniture made in the 1960s used that size and they don't really make them anymore. DOUBLE BLAST!
Back to the drawing board. I guess the original hardware isn't that bad, kind of looks like it wants to be Greek Key? Maybe? If you look really hard? So I devised a plan involving Rub n Buff.
I used Silver Leaf and Spanish Copper. In the past I had only used Silver Leaf but I didn't want it to look soooo silver.
I had never mixed 2 colors of Rub N Buff together before so I followed this tutorial. For some reason the RNB got clumpy and didn't dry correctly. Maybe it's due to the metal I was applying it to or maybe it was operator error? So I used the Deglosser and removed all of it and then just mixed the 2 colors of RNB together and applied it by hand (with a glove on of course). After it sat for a few hours I took a rag and buffed it. This was easier for me and seemed to work quite well.

Ahhhhh (not just saw a shark Ah but rather noise you make after drinking a glass of pink lemonade). Much better.

Cost Breakdown:
Dresser- $20
Rub N Buff- $2 (had to buy the copper, already had the silver)
Stain- already had
Wood Conditioner- already had
TOTAL COST: $22