August 31, 2011

Blue Shelf

I have got to think of some more creative titles. 

This is a shelf I scored at my local Salvation Army.

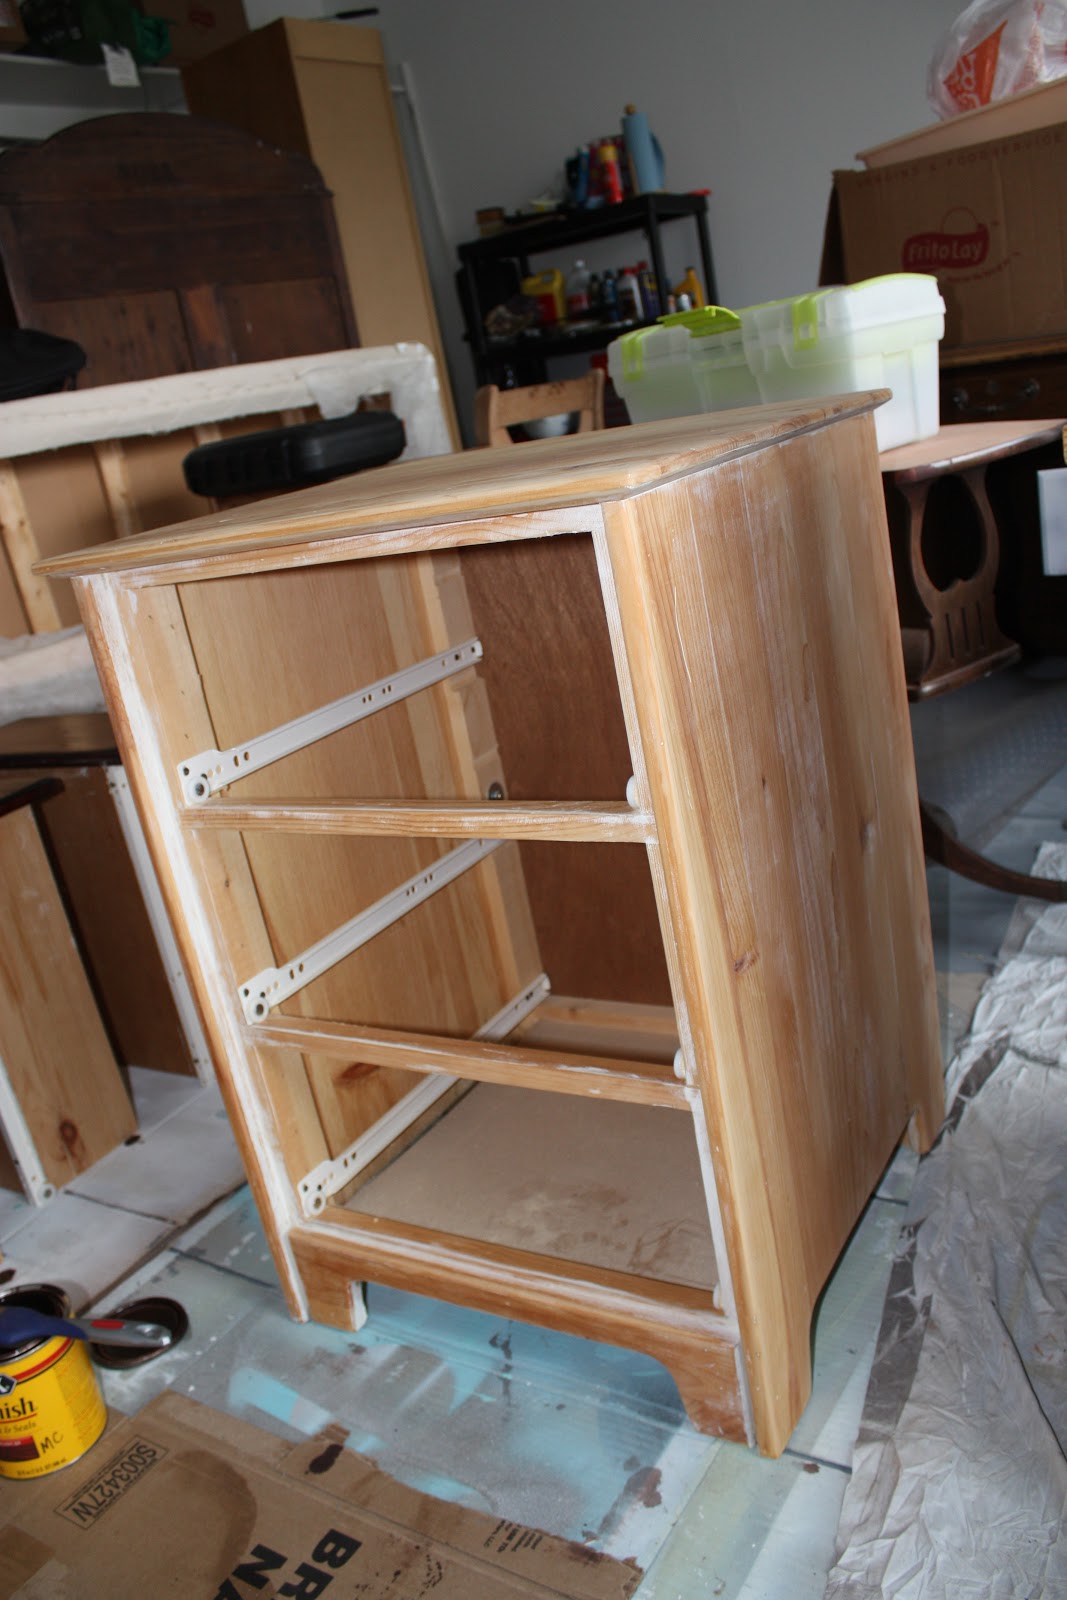
Please Please Please ignore all the crap in the background.  This is what happens to your garage when you become a thrifter.  DO NOT (I repeat) DO NOT let your husband see this picture if you want to start thrifting.  This is not the way to get him on board with it.

I primed it with some good ol' Zinser spray primer and then spray painted it with Krylon's Global Blue.


It took 2 coats and covered quite nicely.


I think it would be perfect in a boy's room or as an accent piece for a pop of color.  For now it is living in the booth because I don't have a boy's room. 

August 24, 2011

Lunch Break Cookie Making

Today was a slow day at work and I re-discovered Tasty Kitchen.  I wanted to make a dessert because we kind of ran out of ice cream the other day and apparently more ice cream is not in the budget for this month.  Time to get creative.  Lucky for my husband I tend to be the creative type  (otherwise I would turn into a monster due to the lack of ice cream) Insert smiley face.

I stumbled across this recipe for Nutella No Bake Cookies and lucky for me (and the keeper of the budget, who just so happens to LOVE Nutella) we had all the ingredients on hand.  *Cartwheel* 
Here it is:

  • 2 cups Sugar
  • ¼ cups Unsweetened Cocoa Powder
  • ½ cups Milk
  • ½ cups Margarine
  • 1 teaspoon Vanilla
  • 1 pinch Salt
  • ¼ cups Peanut Butter, Creamy
  • ¼ cups Nutella
  • 3 cups Quick Oats

Over medium heat, cook sugar, cocoa, milk and margarine. Boil one minute. Remove from heat. Stir in vanilla, salt, peanut butter, Nutella and oats. Stir until combined. Drop by teaspoonfuls on wax paper and cool. Refrigerate. Eat. Repeat.


I was able to make this, take the dog out for a potty break, and pick up Subway on my 1 hour lunch break.   Not too bad. 

I did not taste the cookies yet but the batter was delish!

August 18, 2011

Another shelf...

I found this dingy old shelf at a yard sale and thought one day when it grew up it could be cute.  It was absolutely covered in cobwebs the day I bought it though.  Sometimes this works out because you get it for a better price that way!  But it's still ga-ross.


I primed the entire thing and then spray painted the gold parts silver.  Once it was time to spray paint the wood parts I taped off the new silver parts. 


It would be perfect in a laundry room or by a front door for leashes and such.  It's too long for any spot in our house though  :(  Hopefully somebody will want it!

August 13, 2011

Makeshift Shelf

A local Fudge store, yes, Fudge store, was going out of business so I meandored on in there to see what I could find.  I found a couple baskets, a wooden box and then this half crate looking thing.  I wasn't sure what I was going to do with but I bought it anyways. 

After thinking it over for a little while I decided to make it into a shelf.  I primed and then spray painted the whole thing white.  (sorry, I forgot to take a before picture, just imagine it looking like very light wood).


The brass owl was a lunch break thrift store find!

August 12, 2011

Roadside Furniture!

This is one of my favorite things...ever.  Finding furniture on the side of the road.  It gives me such an adrenaline rush!  My husband and I spotted this piece and went and picked it up after church.  Picture this....5'2" blond wearing a purple dress and 4 inch wedges digging through a pile of furniture and trash on the side of the road.  Oh yeah, it happened. 

This is what I got:

A chair. 

Here it is after a little TLC. 

I just wiped down the whole thing, primed it, and spray painted it gloss white.  I had some leftover fabric from the bookshelf makeover and vanity bench makeover so I decided to just use that.  I had to remove the seat and rip off the old yucky fabric and then staple the new fabric on.  I always iron the fabric before stapling it though and this time I broke the ironing board (sorry honey).  I figured it's probably ok though because this is the only time I iron anyways...


I also got a rocking ottoman...not sure what I'm going to do with this yet.  (sorry forgot to take a picture!)

Linking up to:
The DIY Show Off

August 08, 2011

Happy Anniversary!!!

Today is my second wedding anniversary!!!  I can't believe it has already been 2 years since I have married my prince charming! 


This 2nd year has held a lot of changes for us but I can't wait to see what else is in store!!!

I LOVE YOU BABY!

August 05, 2011

Major Accomplishment for the Week

We booked a trip to Punta Cana, Dominican Republic!!!


Only 72 more days until we go!!!

August 03, 2011

Furniture for a Friend

My co-worker had a piece of unfinished furniture she wanted me to finish.  Here it is before:


Most of it was just wood but then there were areas that had a white wash on it.  Have you ever tried to sand off white wash?  Oh my.  HATE.  Anyways, she wanted it stained a very dark brown so we used Minwax Red Mahogany stain.  Before I applied the stain (but after I sanded it) I applied a wood conditioner to the entire piece.  I waited about 20 minutes and then applied the stain.  It went on quite well.  The only problem is it took FOREVER.  It has been sooooo hot and humid here and so it maybe that has something to do with it?  I stained it on Thursday and it still wasn't dry on Monday. 

I needed to put another coat on but I didn't like how matte it looked.  I had some other stain in the garage that I had used on a previous project and I decided to apply that over the dark red mahogany stain.  It was Minwax Polyshade, "Olde Maple Gloss".  This did the trick.  It gave it the right amount of sheen.  It will also help when she will have to dust it (ew, dusting).


Here it is all finished:

August 02, 2011

Nightstands

I've been on the search for nightstands for our master bedroom for the longest time.  I FINALLY found them...in the booth!  Mrs. DeVore's mom had them in there was selling them!  SCORE!  The only part was that they were black and our bedroom is mainly blue-gray and chocolate brown.  No problem-o!


I didn't even prime them because she had just painted them.  We had some leftover OOPS paint from our master bathroom so I just used that to paint the entire nightstand.  It just wasn't doing it for me though.  I took some dark brown stain I already had in the garage and used it like a glaze on the drawers.  It took days...yes days... to dry, but it worked none the less.   


Here's the finished product!


I spray painted the handles silver but they looked too new and silver for me.  I then took just little bit of stain and brushed it over the silver spray paint to give it more of an aged look.


August 01, 2011

Master Bath Update

Finally, we have been making some progress on our master bathroom.  Remember the last update? 

About a month ago I found this great chandelier at my local Goodwill.  It was only $10!!!  The wires were just hanging out of the top not marked and just cut looking.  I made sure I could return it if it didn't work and went ahead and bought it.  I had a feeling my husband would be a little less than thrilled about the new project he was now assigned. 


When I bought the light it never registered to me that where we would be hanging it was wired for a can light and not a hanging light.  Whoops.  More work for the hubs.  Luckily, they make can light converters so we bought one of those and then also needed a to cover the hole and wires. 

Model R4 for 4" Can Conversion

Apparently he had to rig it quite a bit to make it work.  I don't know what I would do without him! 

Here it is in all it's shining glory!


Costs:
Chandelier- $10
Can light converter kit- $45
light plate thingy-$6
Total:$61

Still To Do:
- hang a chandelier over the tub
- frame in the mirror
- make curtains
- hang curtains
- hang 2 shelves, 1 on each side of the sinks to get stuff off of the counters (drives me bonkers!)
- get new hand towels
- replace white candles by tub with brown candles


Linking up to:


Roomspiration