January 30, 2012

Guest Bedroom Update

I finally found the perfect quilt for our guest bedroom!  It was in our budget too!  What would we do without Marshals? 


I was also lucky enough to find some nice but inexpensive curtains on our latest IKEA run.  The great part is they provide Stitch Witchery for you to make them the exact length you want them- the bad part is that mean you actually have to pull out the iron.  Thus, the picture is only of the fabric....

Buy them here


TO DO:
- find gray quilt
- paint nightstand white
  finish assembling nightstand
-find lamp
- hang picture frames
- paint walls pale yellow
- move current master bedroom dresser into this room
- make/find yellow accent pillow for bed
- find/make curtains

January 27, 2012

This Little Light of Mine

I thought I was pretty much done with the guest bathroom.  The only thing left on "the list" was to find a new mirror or frame in the existing one.  Then this little lamp showed up at my house thanks to Mrs. DeVore.

She actually gave me 2 of them and one is in our bonus room on a desk my husband and I redid way before we discovered blogs.  The other one got a little makeover with some help from some trusty Silver Leaf Rub N Buff.


Now if only I could figure out what to do with all that extra cord.  Is there a way to shorten it?


January 26, 2012

Old Dresser turned Changing Table

I found this old dresser on Craigslist and the seller just so happened to live down the road from our church.  We stopped by after church and picked it right up!  We had been searching for a dresser that we could turn into a changing table.  We researched the different size changing pads to make sure it would fit and still have room for a lamp and a little basket of other changing essentials.  The goal was to keep the entire project under $50.
  Sold for $20!!!

The original plan was to paint the dresser a fun turquoise blue color but as Hubs and I were sanding we discovered that this piece was completely solid wood.  It's kind of rare that the top would be wood (how much wood would a woodchuck chuck...) because usually when you find lower price pieces the top is MDF or press board.  So we sat there for a minute (or ten) and decided it would be more economical to stain it a similar color to the crib. 

I applied a wood conditioner with a brush and let it dry for about 30 minutes or so.  Then I applied a Polyshade by Minwax with my new Purdy brush.  (Like all that name dropping?)


The key is to use long strokes so you don't have lines.  I love using Polyshades because then you don't have to go back at the very end and do a coat of polyurethane.  I ended up doing 3 coats total to get it to the color I wanted.


 (like all the junk?  Just keepin' it real)

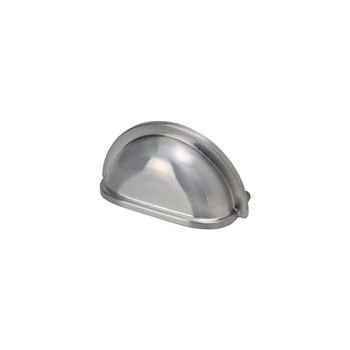
Then began the hardware saga.  My original plan was to go with something like this:
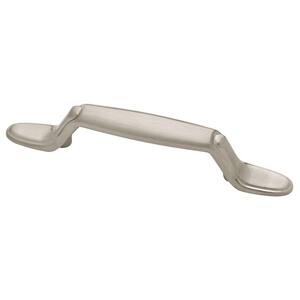
It was 2 1/2 inches long.  Bought 8 of them, hubs went to put them on, they don't fit.  Then I bought ones like this in 3 inch:
 
Then I went to put those on and guess what, yup, you're right, they didn't fit either!  BLAST!
I remeasured the holes from the previous handles and found out that the space between them was 2 3/4 inches.  I didn't remember seeing that option in the store so to Google I went.  Come to find out a lot of furniture made in the 1960s used that size and they don't really make them anymore.  DOUBLE BLAST!

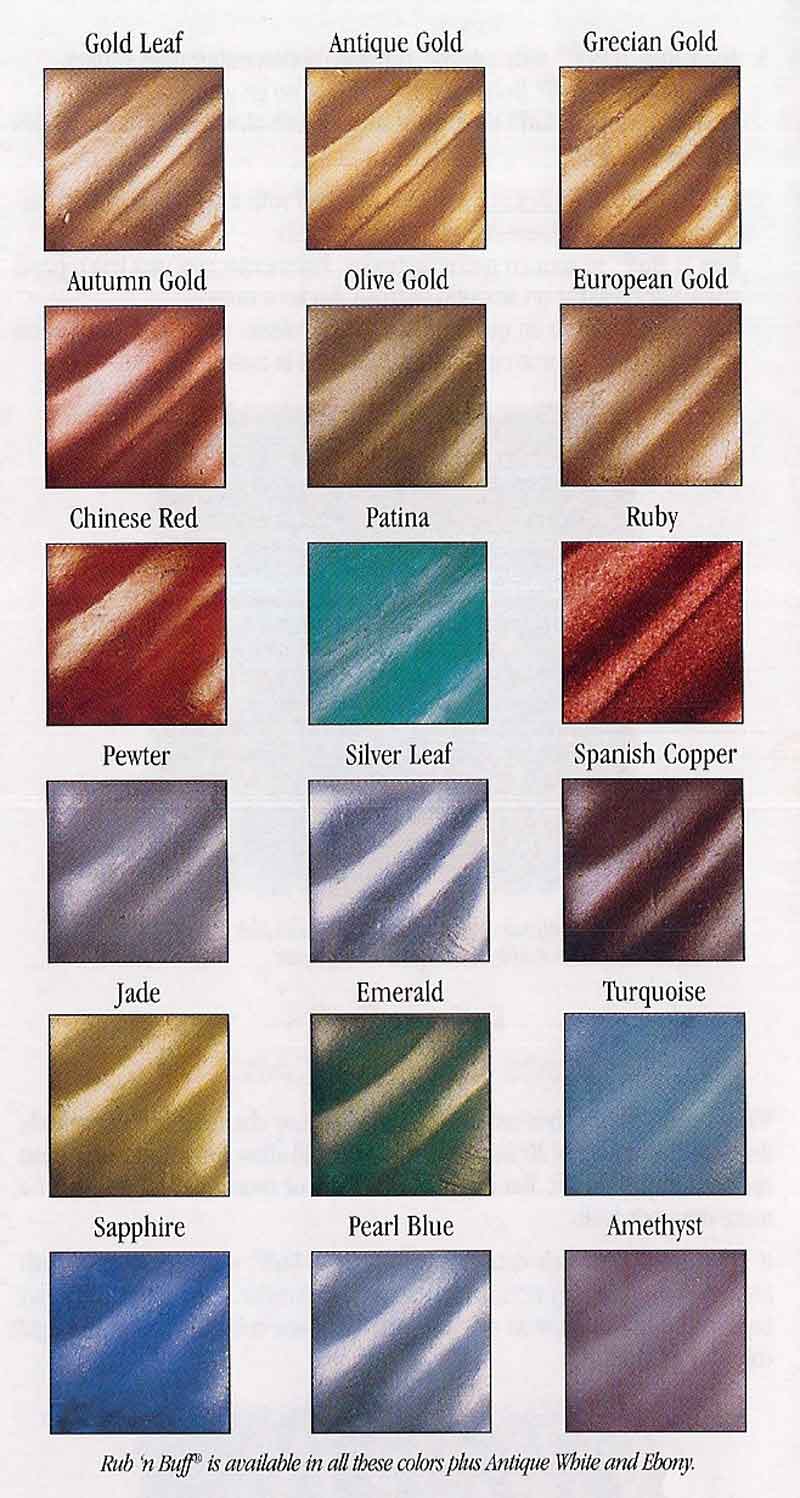
Back to the drawing board.  I guess the original hardware isn't that bad, kind of looks like it wants to be Greek Key?  Maybe?  If you look really hard?  So I devised a plan involving Rub n Buff. 


I used Silver Leaf and Spanish Copper.  In the past I had only used Silver Leaf but I didn't want it to look soooo silver.

I had never mixed 2 colors of Rub N Buff together before so I followed this tutorial.  For some reason the RNB got clumpy and didn't dry correctly.  Maybe it's due to the metal I was applying it to or maybe it was operator error?  So I used the Deglosser and removed all of it and then just mixed the 2 colors of RNB together and applied it by hand (with a glove on of course).  After it sat for a few hours I took a rag and buffed it.  This was easier for me and seemed to work quite well.


Ahhhhh (not just saw a shark Ah but rather noise you make after drinking a glass of pink lemonade).  Much better. 


Cost Breakdown:
Dresser- $20
Rub N Buff- $2 (had to buy the copper, already had the silver)
Stain- already had
Wood Conditioner- already had
TOTAL COST: $22


January 25, 2012

Nursery Lamp

The nursery is moving right along.  We have hit our fair share of bumps in the road while redoing it but, hey, that's something that comes with DIY projects and not paying full retail for items!

I had this lamp that I bought years ago from Wal-Mart.


Since the wall color is very neutral I wanted to pep the room up with some pops of color.  Enter Krylon's Blue Ocean Breeze.


I removed the shade and taped off around where the light bulb goes.  Then I used my spray primer and let it dry.  Next I went to town with the spray paint.  I did have a few drip marks when I went back to check on it so I just sanded them out and resprayed those places.


January 19, 2012

IKEA Spice Racks turned Bookshelves

I know we've been seeing this idea floating around all over Pinterest and other blogs.  I first saw it on Daily Garnish's blog.  I thought it was such a super cute idea.  I didn't really want to put it on a dresser or the changing table so I decided on hanging them from the wall.  There is a small strip of wall next to the closet that would work perfectly!

We bought the spice racks at IKEA for $3.99 each.

BEKVÄM Spice rack, birch Width: 15 3/4 " Depth: 3 7/8 " Height: 3 1/2 "  Width: 40 cm Depth: 10 cm Height: 9 cm
Then I primed them, let it dry, and spray painted them a gloss white.  I did 2 coats because I figure kids are rough on things and I rather do it now than later!

From here I told Hubs where I wanted them hung and he went to town with the rest. 

Here's what they look like now. 

Sorry for the grainy iPod picture.  I'll take a better one for the entire room reveal.

January 16, 2012

I Love Lamp


I found these awful lamps at Goodwill and man they are heavy and ugly.  I wanted to get a matching pair of lamps for our bedroom and I thought these would do the trick.  


I used some Rub N Buff in Silver Leaf on them and now they are nestled on our nightstands in our mater bedroom.  They still need shades, but I'm workin' on that.


Just wanted to show you some pics of what's been going on around here.

January 15, 2012

Pier 1

I do like me some Pier 1 but I hardly ever buy anything from there.  I just got the new catalog in the mail the other day and thought I would share some of my favs.

Mirrored Damask Panel

How pretty is this mirrored damask panel?  Do I see a DIY project in my near future??? Hmmm

Assorted Mercury Finish Bath Accessories
These mercury glass bathroom accessories have a price tag of $14-$19 dollars a piece.  Hubs and I found something similar for our bathroom before we even knew Pier 1 had these.  These are our $3 candle holders turned bathroom accessories:


We bought the shelves for 50% at Hobby Lobby and then found the mercury glass at Garden Ridge in the candle section.  We use them to hold our everyday items like q-tips, small medicine, toothpaste, etc.  I just can't stand clutter on the counter!

Glitter Pearl Oyster Bowl
I would love to find a dish like this to go in the bathroom where I can put some of my jewelry right after I take it off. 

Embossed Crimson Tiles

Would be gorgeous for the blank wall in my kitchen.

Hopefully I'll figure out a way to DIY with some of these items so they can be a little more budget friendly!

January 13, 2012

Told ya!


See!  I am working on projects just not doing so well when it comes to taking finished product pictures right now.  This is what our driveway/garage looked like last Saturday.  We were able to prime and paint quite a bit since the weather was so cooperative.  The finished product posts on are their way!

Master Bath Curtains

Remember this fabric I bought on clearance at The Depot a while back?  I FINALLY put it to use.


I used it in our master bathroom to make curtains.  These are the first DIY curtains I've ever done.  I completed the project prior to getting my new sewing machine so I took the "no sew" route of using Stitch Witchery.


You can usually find it in your local fabric or craft store.  It's quite inexpensive for how much you get.  All you do is go ahead and cut your fabric and then you use the Stitch Witchery to bond the edges together.  I took an old damp cloth and put it between my fabric and iron and went to town.  It actually took quite a while, but that could have been because I had the TV on :)  You don't do a back and forth motion with the iron, just press it on there until you feel like it has bonded.  Easy, but time consuming.  May the force be with you.


For some reason Kohl's decided to mail us 2 free $10 gift cards so I used them to buy the clip rings to hold up the panels.


The fabric is nice and thick so we can close the curtains if we don't want any light to shine through but we usually leave them hanging the way the are in the below photo. 


Only a few more small tweaks and then the master bath will be finished!

January 12, 2012

Curtain Ideas

Have you ever noticed how expensive curtains are?  It drives me a little bonkers that you usually have to buy each panel separately.  If they normally came in a pack of 2 panels I would already have curtains for the nursery for a price tag of $10 but nooooo companies like to make money, imagine that?  So since it frustrates me I'm going to stick it to the man and DIY.  Take that man.

This is my "halfway stick it to the man" ideas.  I say halfway because I would buy this 2 PACK at IKEA and then paint it to look like one of these:


ORRRRR......I could start from scratch and use fabric and my new sewing machine :)

Premier Prints Wilson Stripe Village Blue/Natural

Premier Prints ZigZag Village Rust

Premier Prints Annie Sweet Potato/Natural

Decisions. Decisions.

Also, I would like to apologize for the total lack of blogging lately.  We have been getting quite a few projects done and then I realize I need to take a picture to post and it's super dark outside and the pictures turn out horrible.  I'm hoping to take pics of everything this weekend and have some fabulous posts for you all next week!